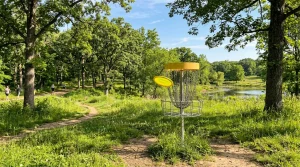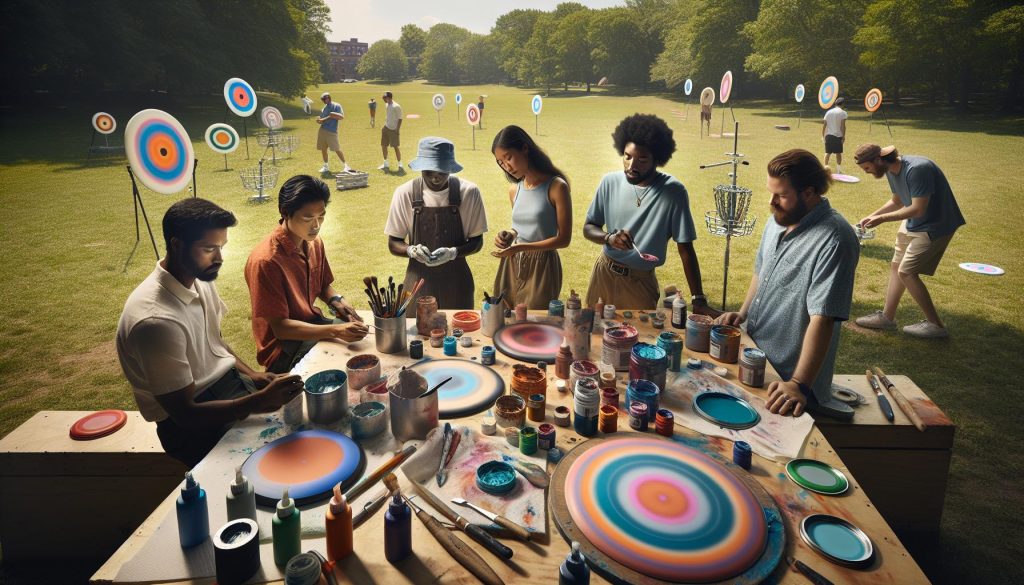
Have you ever watched a disc golf player showcase beautifully dyed discs and wondered how they achieve such stunning designs? Spin dying your discs isn’t just a fun way to personalize your gear; it can also enhance your connection to the sport and even boost your performance with unique patterns that catch the eye. In this tutorial, we will explore the art and technique of spin dying, providing you with step-by-step guidance to transform your discs into vibrant works of art. Whether you’re a beginner looking to add flair to your throws or an experienced player wanting to stand out on the course, this guide will help you master the technique. Get ready to unleash your creativity and elevate your disc golf experience!
How Spinning Dye Works on Discs
To fully appreciate the artistry of spin dyeing disc golf discs, it’s essential to understand the underlying mechanics of how the process works. Spin dyeing is an intricate technique that allows vibrant colors to flow and blend seamlessly across the surface of the disc, creating unique patterns that not only enhance the aesthetic appeal but also capture the individuality of each player.
The core principle involves using a rotating method to evenly distribute dye around the disc. By securing the disc on a spinning apparatus, the centrifugal force generated pulls the dye from the center outward, leading to an even coating that can intensify in color depending on the speed and pressure applied. This dynamic interaction means that variations in technique-such as adjusting the speed of rotation or the type of dye used-can result in everything from delicate swirls to bold, abstract designs.
One key factor in achieving optimal results lies in the selection of dyes specifically formulated for plastic materials. Dyes that can penetrate the surface of the disc without compromising its structural integrity are crucial. Water-based or fabric dyes tend to work well, adhering effectively to the plastic while minimizing fading under sunlight-a common concern in outdoor sports like disc golf. The application of heat can further fix these dyes, ensuring that the vibrant colors remain locked in.
As you embark on this creative journey, consider experimenting with combinations and techniques to discover what best expresses your style. Whether aiming to stand out on the course or simply wish to personalize your gear, spin dyeing opens up a world of possibilities that is as much about personal expression as it is about enhancing your game.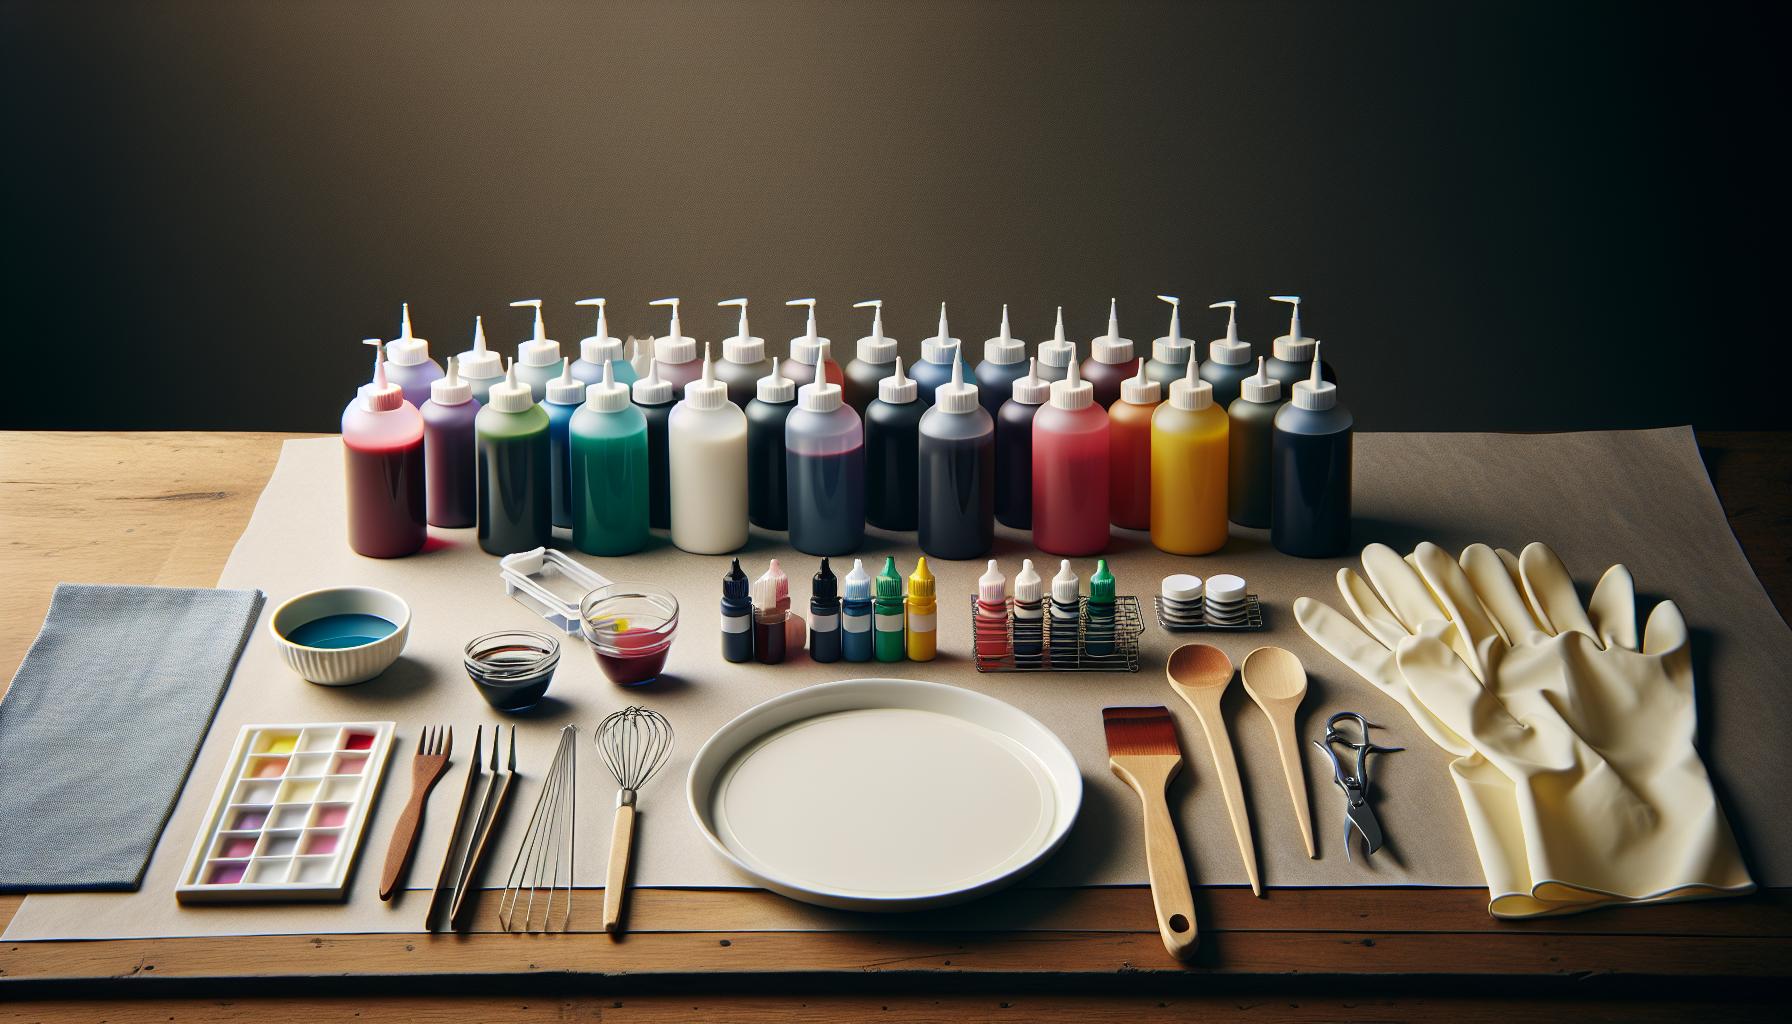
Selecting the Right Dye for Your Discs
Selecting the right dye is crucial for achieving stunning and long-lasting results when spin dyeing your disc golf discs. With the multitude of dye options available, making an informed choice can elevate your customization process and ensure that your creations not only look fantastic but also withstand the rigors of play. It’s essential to consider the nature of the material you’re dyeing, the dye’s properties, and its compatibility with the disc’s surface.
For best results, opt for dyes specifically formulated for plastics. Here are some key dye types to consider:
- Fabric Dyes: These dyes can penetrate the plastic surface well and offer vibrant, lasting colors. Brands such as Rit and iDye are favorites among the dyeing community. Be sure to select ones that are suitable for synthetic fabrics, as they maximize adherence.
- Water-based Dyes: A popular choice among beginners, these dyes are easier to work with and typically less toxic. They allow for beautiful coloration without the harsh chemicals found in many solvents.
- Reactive Dyes: These dyes bond well with the plastic and can result in strikingly bright colors. However, they may require additional steps like heat setting for optimal results.
When selecting a dye, consider the desired colors and effects you wish to create. Some dyes work better for achieving soft pastel hues, while others excel in producing bold, vibrant shades. If you’re looking to layer colors or create unique patterns, experiment with multiple products to see how they interact.
Additionally, always keep in mind the UV resistance of the dye. Discs are often exposed to sunlight during gameplay, so choosing a dye that offers some degree of fade resistance will ensure your designs remain fresh and attractive over time. Incorporating a fixative or sealing agent, particularly if you use water-based dyes, can further enhance longevity and preserve the integrity of your vibrant patterns.
By carefully selecting the right dye tailored to your artistic vision and understanding the interplay between the dye and the disc material, you set the foundation for creating not just visually stunning discs but also one that maintains its character through many throws. Happy dyeing!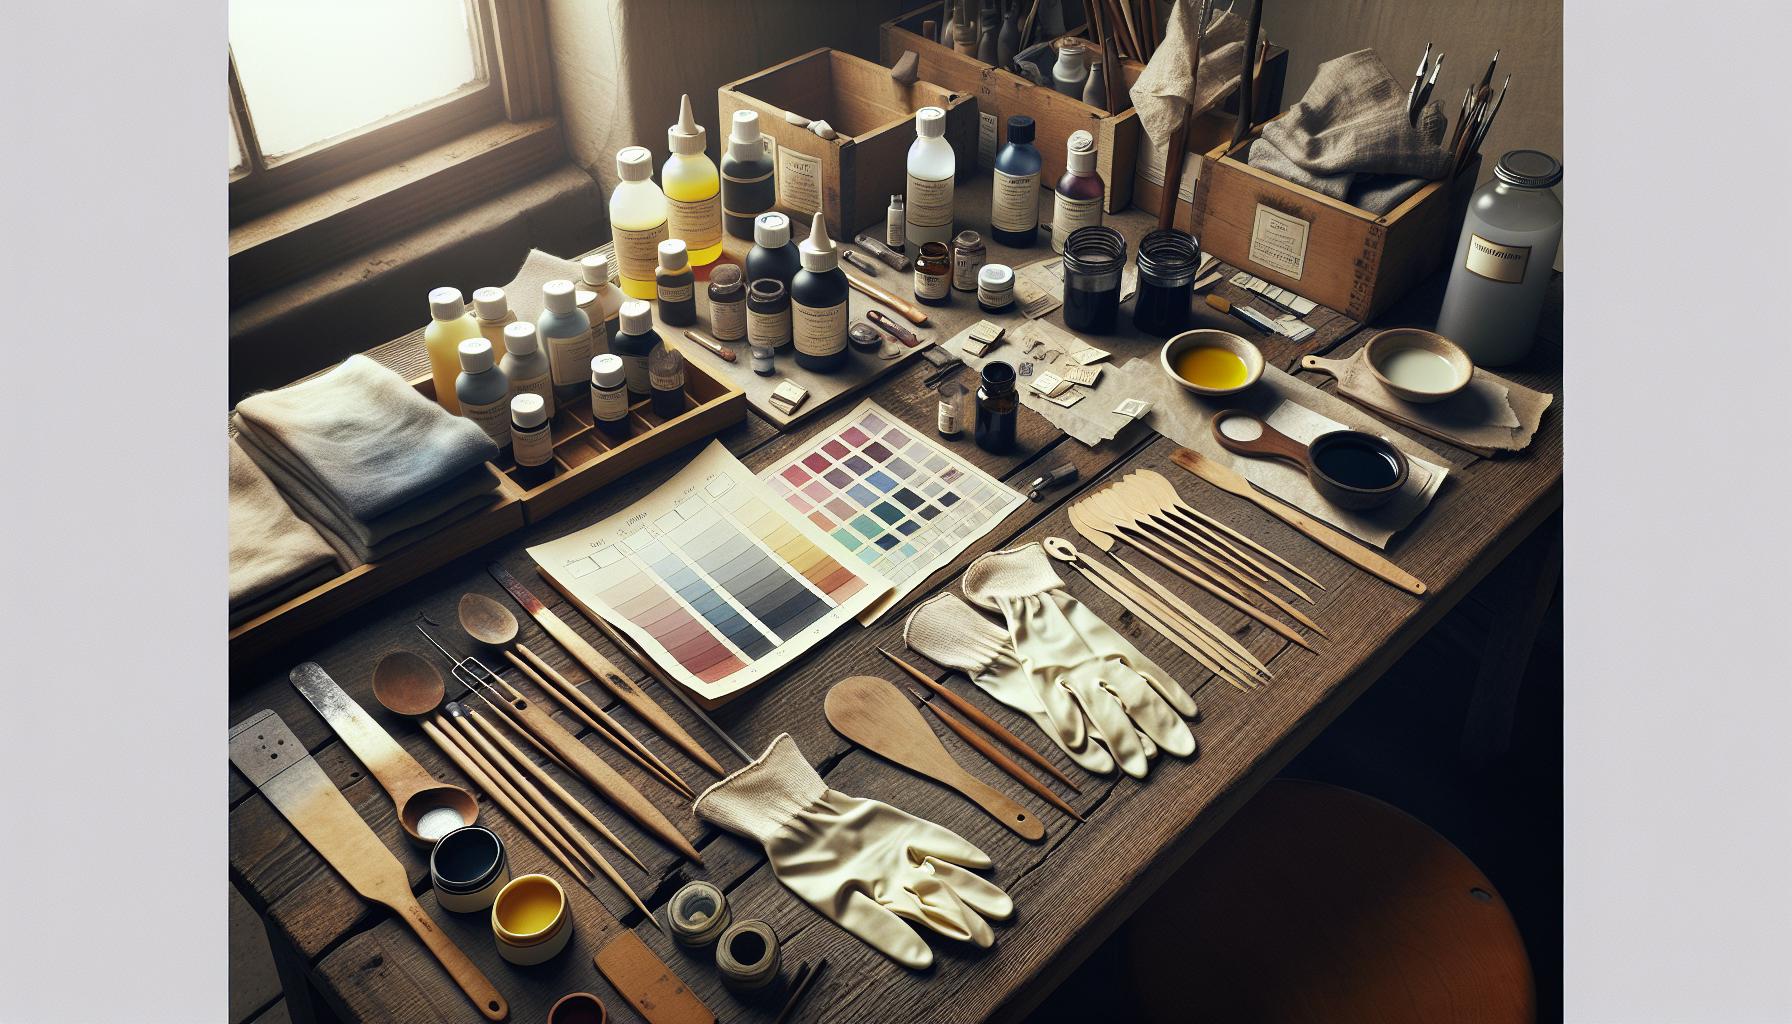
Essential Tools and Materials for Dyeing
When embarking on a spin dyeing journey for your disc golf discs, having the right tools and materials is paramount to achieving vibrant and durable results. The process combines artistry and technique, making it crucial to equip yourself with the essentials to express your creativity while ensuring performance integrity. Gather your materials, and let’s explore what you need to get started effectively!
To begin with, you’ll require a selection of discs that you wish to dye. Choose discs made from plastic materials that are conducive to dye adherence. Common choices include DX (Disney X-out), Star, or Champions plastics, as they tend to soak up color well. Next, prepare your dyeing medium. Fabric dye, such as those offered by Rit or iDye, is often recommended due to its effectiveness on plastic surfaces when properly applied. It’s vital to check that the dye is suitable for synthetic materials to ensure optimal results.
Essential Tools
Here’s a list of tools that will enhance your dyeing experience:
- Dye Applicators: Use squeeze bottles or spray bottles to control the application of the dye precisely. They are perfect for intricate designs and achieving layered effects.
- Gloves: Protect your hands from staining by wearing rubber or disposable gloves during the dyeing process.
- Heat Source: Some dyes require heat setting for optimal results. A heat gun or an oven can be handy, depending on the dye type you choose.
- Covered Work Surface: Set up a protected area using newspaper or plastic sheets to catch any spills and avoid damaging nearby surfaces.
- Plastic Bags or Wraps: Utilize these to seal your dyed discs while they set; this helps prevent unwanted drying out and achieves a richer hue.
Additional Materials
In addition to these tools, having a variety of colorful dyes, fixatives, and sealing agents can expand your creativity. Fixatives are important to help hold dye in place and maintain vibrancy over time. If you are venturing into more advanced techniques, consider investing in stencils and resist materials (like tape or rubber bands) to create unique patterns and designs.
Having the right setup not only facilitates a smoother dyeing process but also enhances your ability to experiment and improve your craft. As you learn and grow within the disc golf dyeing community, you’ll find that quality tools contribute significantly to the successes of your artistic expressions. Happy dyeing!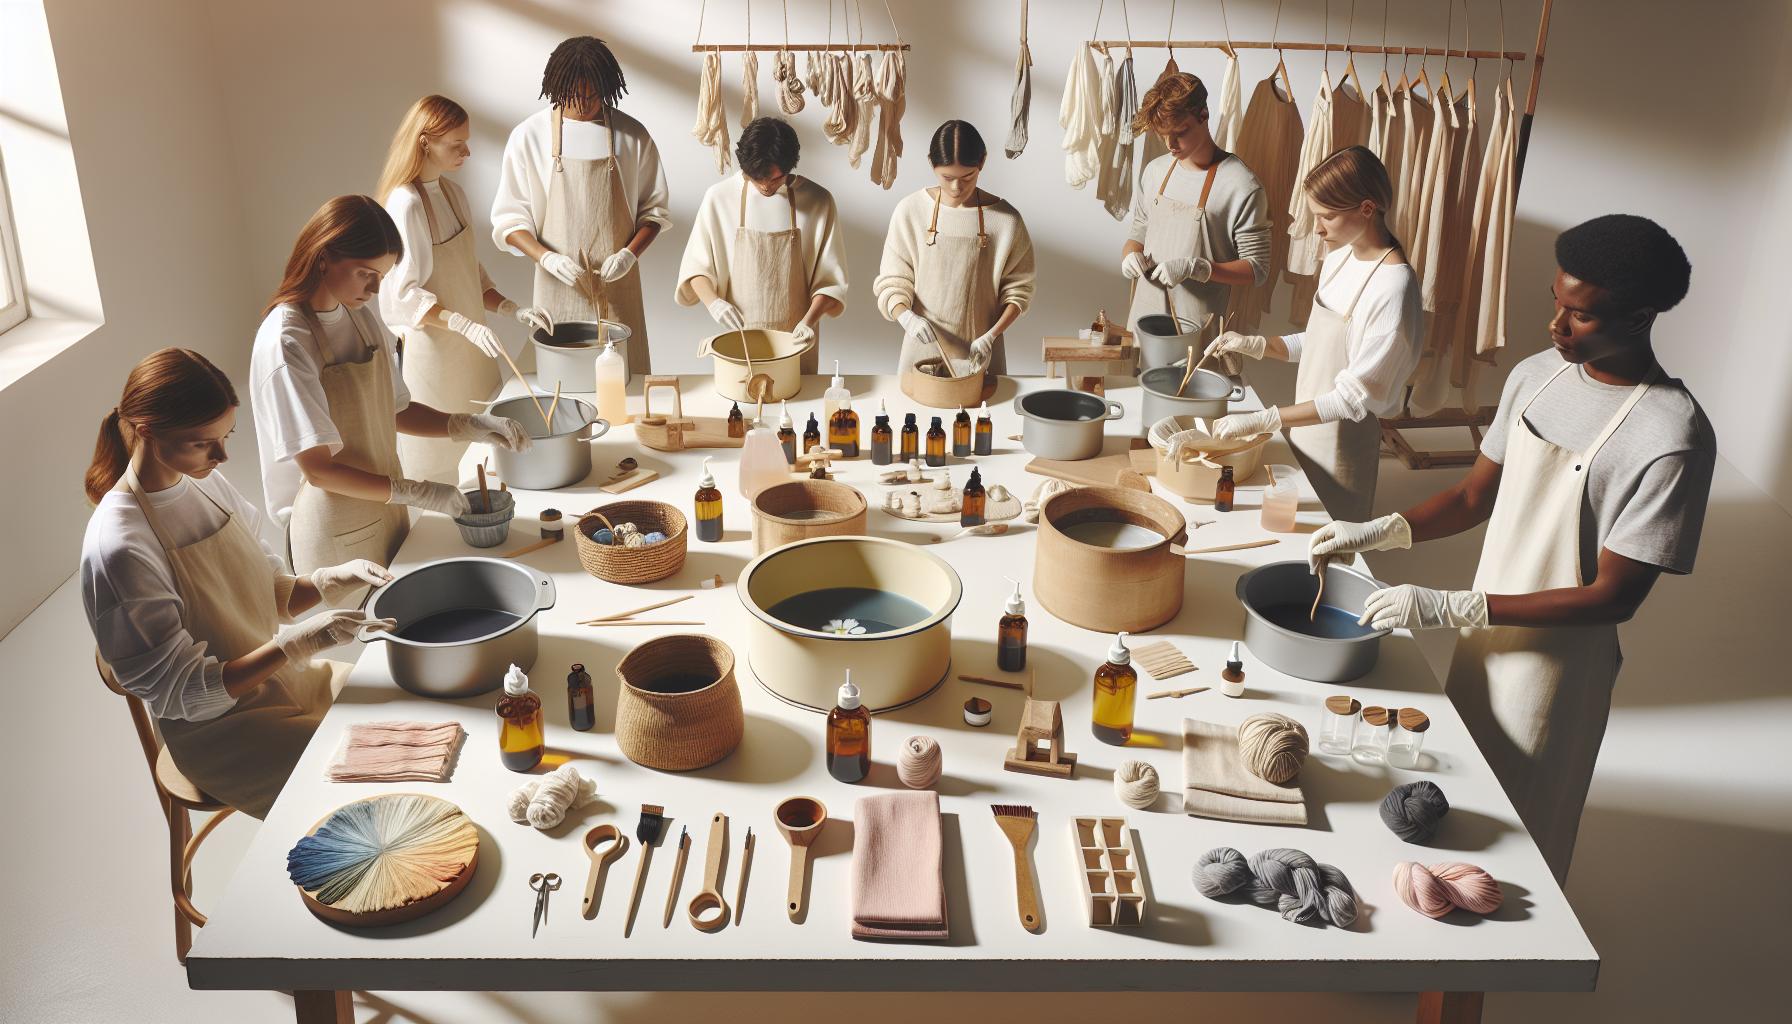
Step-by-Step Dyeing Process for Beginners
Starting your journey into the vibrant world of spin dyeing disc golf discs can be thrilling, as it not only lets you put a personal touch on your gear but also enhances your experience on the course. With the right approach, even beginners can achieve stunning results that reflect their personality and style. Here’s a straightforward guide to get you started.
Before diving into the process, ensure you have your materials ready as mentioned earlier. Begin by selecting your disc and laying it on your covered work surface. Start by prepping your dye, following the manufacturer’s instructions for mixing and temperature. Many dye types recommend a water bath to help set the color evenly. If you’re aiming for a tie-dye effect, do not mix your dyes just yet; you’ll need to get creative with placement.
To begin dyeing, place your disc inside the dye bath or use squeeze bottles to apply dye directly to its surface. For a spin dye effect, you can secure the disc to a spinning device (like a small drill). As the disc spins, apply different colors, letting them blend into each other. This technique not only creates stunning patterns but allows the colors to merge and swirl elegantly as the disc rotates. Keep an eye on the process to ensure you achieve the desired vibrancy.
Once you’ve reached a color you love, allow the dye to set, typically for 30 minutes to an hour. For optimal depth of color, consider wrapping the dyed disc in plastic to prevent it from drying out too quickly. After setting, rinse the disc gently under cold water to remove excess dye, and allow it to dry completely before use. This method not only fosters creativity but ensures that your finished disc is as functional as it is beautiful.
As you familiarize yourself with the basics, you’ll find that practice and experimentation lead to improved results and unique designs. Along the way, don’t hesitate to connect with the disc golf community for inspiration and tips as you share your creations and grow your skills. Whether you’re decorating for function or style, each dyed disc can become a statement piece in your arsenal. Happy dyeing!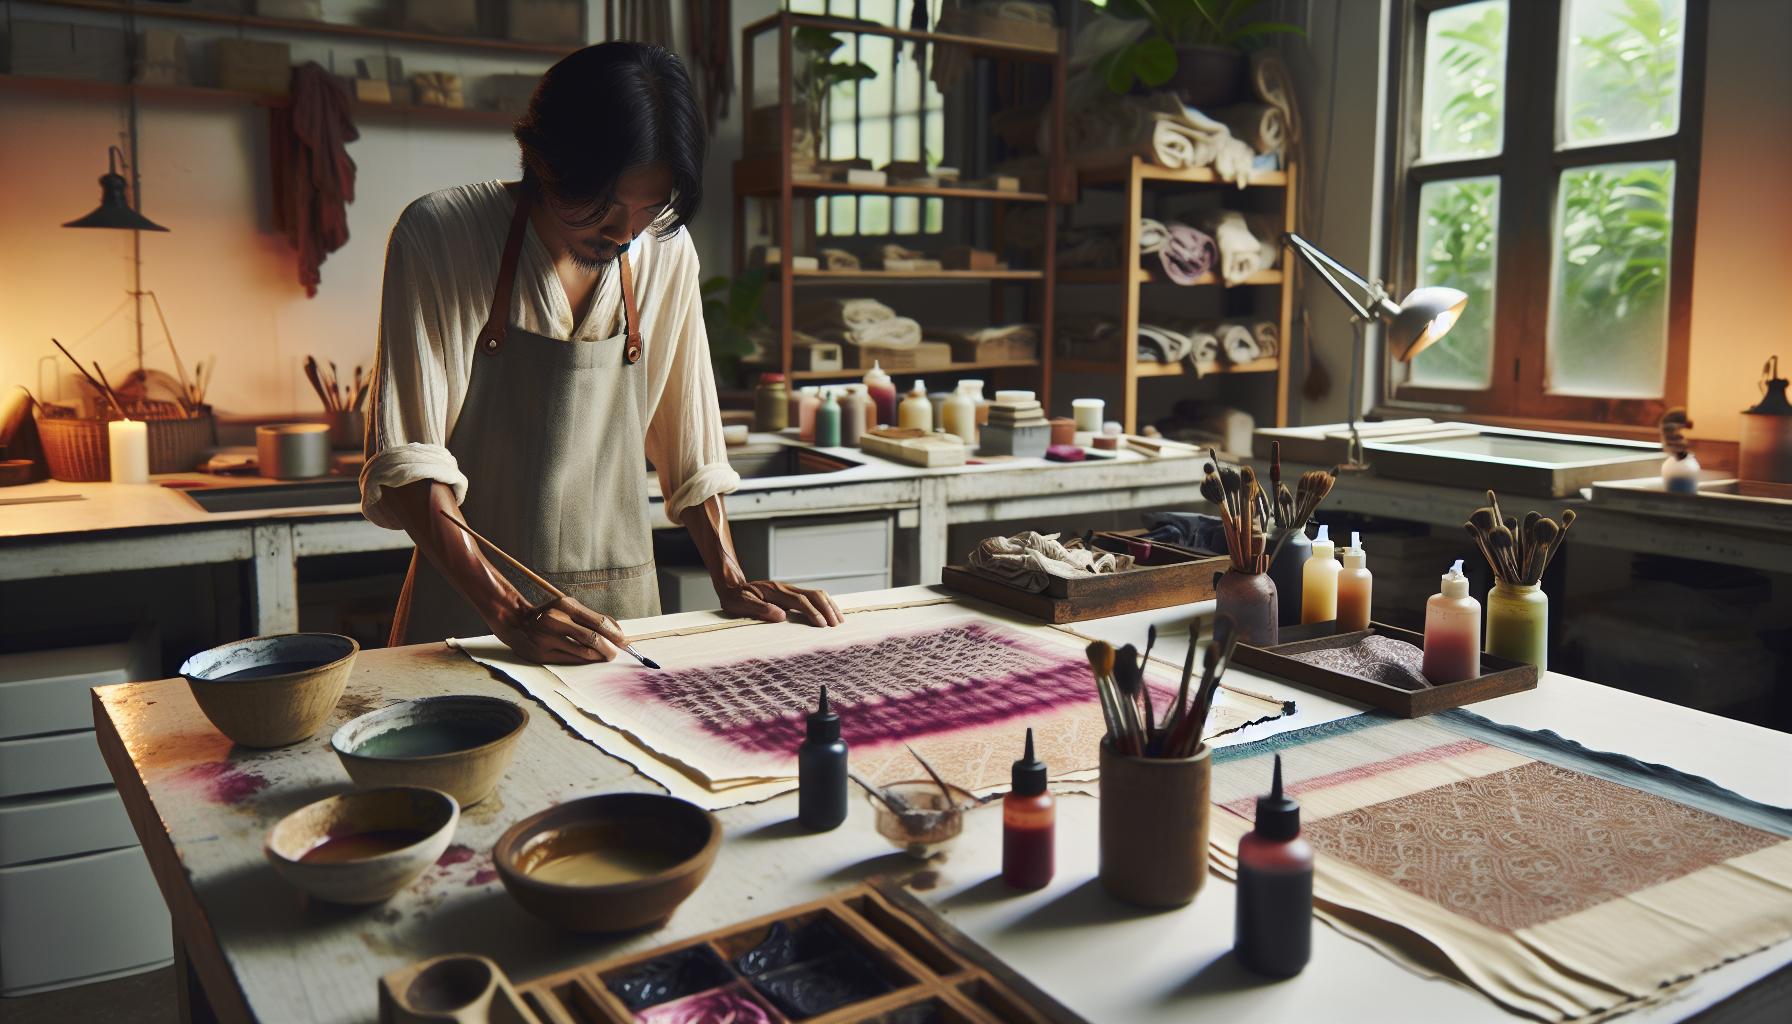
Advanced Techniques for Unique Dye Patterns
When it comes to spin dyeing disc golf discs, the pursuit of unique patterns can elevate your creations to a whole new level. Beyond the basic techniques, several advanced methods allow you to unleash your creativity while mastering the art of dyeing. These techniques not only produce stunning visual effects but also engage with the science of color blending and diffusion.
One popular method is the “spray and spin” technique. This involves using a spray bottle to apply your dye colors directly onto the spinning disc rather than immersing it in a dye bath. The quick application creates a splatter effect as the centrifugal force sends the dye outward. You can experiment by varying the distance of the spray bottle from the disc, which will yield different dispersion patterns. For enhanced complexity, try layering multiple colors; start with light colors as a base before adding darker hues on top, allowing the lighter shades to peek through and create depth.
Masking techniques offer another route to achieving distinctive designs. Using masking tape or stencils, you can define specific areas of the disc that you want to remain undyed. First, apply your base color to the entire disc, then carefully mask off sections before adding contrasting colors. Once you remove the tape after dyeing, you’ll unveil a crisp, clean design that stands out. This approach is perfect for geometric patterns or logos and can make your disc not only a personal item but also a statement piece on the course.
Combining different methods can lead to even more imaginative results. For instance, integrating the “tie-dye” method with spinning allows for a more controlled but dynamic application of dye. You can pinch sections of the disc and twist them before dyeing, which creates mesmerizing spiral patterns as the colors blend during the spin. Additionally, varying the speed at which you rotate the disc can influence how the colors interact-faster spins will create more chaotic blends, while slower spins allow for more defined lines.
Ultimately, the key to crafting stunning dye patterns lies in experimentation and practice. Don’t shy away from trying new combinations or revisiting techniques you’ve previously used. Each session provides an opportunity to refine your skills and discover what resonates most with your artistic vision. As you experiment with advanced techniques, you’ll surely find that your dyed discs are not just functional equipment but personal expressions of your style and creativity. Happy dyeing, and may your discs turn heads on the course!
Common Mistakes to Avoid When Dyeing
Dyeing disc golf discs offers a thrilling opportunity to unleash your creativity, but the process isn’t without its pitfalls. Understand that even seasoned dyers can make mistakes that hinder their results or create unexpected consequences. One common error is rushing through the preparation phase. Thoroughly cleaning and drying your discs before dyeing is essential; any residue or moisture can lead to blotchy patterns or a dye that doesn’t adhere properly. Ensure your workspace is free from distractions, which can lead to accidental spills or misapplication of dye.
Additionally, many newcomers to dyeing overestimate the amount of dye they need to use. While it might be tempting to saturate the disc for a richer color, too much dye can lead to muddied designs and unflattering color blends. A better approach is to start with lighter applications and gradually build up layers. This not only allows for greater control over the outcome but also gives you the chance to play with color mixing on the disc itself, creating beautiful gradients.
Understanding the mechanics of spinning is another area where mistakes can happen. It’s vital to maintain a steady speed when spinning the disc to ensure an even application of dye. Variations in speed can result in uneven patterns, leaving some sections overly saturated while others remain bare. Consistency is key, so practice finding that perfect spin rate before applying your dye.
Lastly, don’t overlook the significance of timing. Each dye type has a recommended dwelling time to achieve the best results. Leaving the dye on too long can lead to overly dark spots, while not leaving it long enough might yield weak colors that wash out. Keep a close eye on the clock and test small sections if you’re uncertain about the effect you want to achieve. By learning from these common missteps, you’ll refine your technique and ensure that your dyed discs not only catch the eye but also reflect your personal touch and artistry on the course.
Understanding Disc Flight Characteristics
Understanding how a disc behaves in flight is crucial for both dyeing technique and performance in disc golf. The flight characteristics of a disc-comprising stability, glide, and fade-are influenced by its shape, weight, and the materials used in its construction. For enthusiasts and competitors alike, grasping these attributes not only enhances gameplay but also helps optimize the dyeing process in ways that complement the disc’s performance.
The primary factors affecting a disc’s flight include:
- Stability: Stability refers to how a disc behaves during its flight path. Overstable discs tend to finish straight or even hook left, making them ideal for wind conditions, while understable discs will turn to the right before fading back left (for right-handed backhand throwers). Knowing the stability of your disc informs the design choices you might make-an intricate, lighter dye job might suit a more stable disc, allowing its reliable flight to shine.
- Glide: Glide is the ability of a disc to stay in the air for an extended period. Discs with high glide ratings are essential for longer throws, especially off the tee. If you choose to dye a high-glide disc, consider how your design could be structured to accentuate its flight path, using colors that echo its gliding ability.
- Fade: Fade relates to how the disc finishes its flight. Most discs will fade toward the end of their trajectory. For instance, if you have a disc with a strong fade, you might choose colors that create a gradient, emphasizing the transition from the foundational design to the fading effect.
When it comes to your dyeing style, it’s beneficial to consider how dyed visuals can enhance flight characteristics or even reflect them in aesthetic choices. Some players use dye techniques to symbolize the attributes of their discs; for example, a brightly colored pattern might represent the high glide of a disc, while darker, sharper edges may denote a more stable or overstable characteristic. This blend of function and form allows players to develop a unique connection with their discs, leading to a signature style that enhances both their gameplay and their presence on the course.
Moreover, the choice of dye can subtly influence the texture and weight distribution on the disc, which in turn might marginally affect its flight. Therefore, understanding the physical dynamics of the disc as you work on your dyeing technique not only makes your creations more visually appealing but also helps maintain the integrity of the disc’s performance. As you explore dyes and designs, consider how the merged artistry can create not just a beautiful plaything but a well-functioning tool that reflects your individuality in both craftsmanship and athleticism.
How Dye Affects Disc Performance
The colors and designs you choose for dyeing your discs can do more than just make them visually striking; they can subtly affect how these discs perform during play. While the impact may not be drastic, understanding the interplay between dye characteristics and disc dynamics is crucial for players who want to optimize their gear. Specifically, the selection of dye can influence weight distribution, texture, and even flight stability, all of which play a vital role in how a disc behaves in the air.
- Weight Distribution: Different dye materials can add slight weight to the disc, altering its balance. For instance, heavier dyes may shift the center of gravity, potentially affecting stability and distance. When dyeing a disc, keep in mind that even a small weight change can impact how it flies, especially in competitive settings.
- Texture: The dyeing process can also slightly alter the surface texture of a disc. Certain dyes may create a smoother finish, while others might leave a more porous or matte texture. A disc’s grip and how it cuts through the air can be influenced by these textures, affecting throwing mechanics and feel during play.
- Visual Design: The visual patterns achieved through dyeing can also convey specific characteristics associated with the disc’s flight dynamics. For instance, vibrant, flowing designs might be perceived as enhancing glide, while angular, aggressive designs could suggest a more overstable flight. This isn’t just about aesthetics; it adds an emotional aspect to the player’s connection with their disc, often resulting in a psychological edge during play.
- Color Effects: The choice of colors can also impact thermal effects. Darker shades tend to absorb more heat, which can make a disc slightly more flexible in warmer conditions. This change can subtly affect flight behavior, particularly in sustained throws. It’s essential to consider how the color scheme might interact with environmental factors when preparing your dyed discs.
By combining an understanding of how dye affects performance with creative artistry, you can craft discs that not only look distinctive but also resonate with your personal style and gameplay preferences. Experimenting with different dye methods will not only elevate the aesthetic of your discs but could also lead to a deeper understanding of how subtle changes affect your performance on the course. Embrace this exploration-it’s all part of the joy of being part of the disc golf community.
Creative Ideas for Custom Disc Designs
Creating custom disc designs can transform your gear from standard to spectacular, making it an extension of your personality and style on the disc golf course. The beauty of spin dyeing lies not only in the vibrant colors you can achieve but also in the unique patterns that result from the technique. Your imagination is truly the limit when it comes to custom designs, and with a few creative ideas, your discs can stand out in both appearance and performance.
One popular approach is to experiment with nature-themed designs. Consider dyeing your disc to mimic the look of water, wood grain, or even the night sky filled with stars. Techniques such as swirling colors can create a mesmerizing effect that echoes natural elements, meaning your disc not only performs well but tells a story about your passion for the outdoors. Additionally, you can add stencils or use masking tape to delineate specific shapes-like trees, mountains, or celestial bodies-allowing for striking contrast against the base color of the disc.
Another exciting option is to integrate pop culture references into your custom designs. Whether it’s artwork inspired by your favorite movies, TV shows, or video games, these can resonate with fellow players and initiate conversations during casual rounds or competitive play. For example, dyeing a disc with a recognizable logo or character silhouette can inject fun into your game and provide a personal touch. Use multiple dyeing techniques-such as layering colors or reverse dyeing-to add depth and intricacy to these designs.
Don’t forget to embrace the overall community aspect of disc golf as well. Consider creating discs that reflect local landmarks, team colors, or community events. You could organize a group dyeing session with friends to create matching designs for your local disc golf club, creating a sense of unity and camaraderie. By showcasing your creativity through your gear, you not only enhance your own experience but also foster a richer, more connected disc golf community.
Overall, the possibilities with custom disc designs are vast and fulfilling. Embrace the artistic process as part of your disc golf journey, and each time you step onto the course, you can take pride in not just your performance but also the creativity that reflects who you are as a player.
Showcasing Your Dyeing Skills: A Community Gallery
Showcasing unique disc dye designs not only enhances your personal style on the course but also creates an opportunity to celebrate the broader disc golf community. As players share their custom creations, a vibrant gallery emerges, reflecting the diverse talents and creative decisions of enthusiasts from all backgrounds. What’s more, displaying your dyed discs serves as inspiration to others and invites them to explore their artistry in this thrilling offshoot of disc golf.
Engaging with others through a community gallery can take various forms. Consider starting a dedicated section on social media platforms or local disc golf forums to share photographs of your dyed discs, along with a brief description of the techniques and dyes used. This not only showcases your skills but provides valuable insights into your creative process, potentially sparking new ideas among fellow players. Encourage peers to share their works in progress, discuss color combinations, and explore innovative dye patterns together.
Tips for a Successful Community Gallery
- Organize Contests or Challenges: Hosting dyeing contests where players submit their best work encourages participation and creativity. You could set specific themes or techniques for each round to push boundaries and highlight unique skills.
- Create Tutorials: Leverage your experience to develop quick, easy-to-follow tutorials for different dyeing techniques. Have these readily accessible in your gallery, allowing newcomers to learn and feel welcomed in the community.
- Highlight Local Players: Feature individual artists or local clubs, sharing their stories and inspirations behind their unique designs. This fosters a sense of belonging and pride within your community and keeps the connections strong.
Sharing & Connecting
Utilizing online platforms to curate a community gallery not only showcases individual talents but also strengthens community ties. As players come together, they can share tips, tools, and even collaborate on designs, further enriching the vibrant world of disc golf. This collective creativity not only enhances the sport aesthetically but also validates it as a legitimate and exciting art form intertwined with athleticism. By embracing this communal aspect, new and seasoned players alike can find their place in the heart of the disc golf journey-one colorful disc at a time.
Maintaining Your Dyed Discs: Care Tips
Keeping your dyed discs in top condition not only preserves their vibrant colors but also ensures optimal performance on the course. After all, a well-maintained disc not only looks great but can also make all the difference in your game. Here are some essential tips to help you care for and maintain your unique creations.
Start with regular cleaning. After every round of disc golf, give your dyed discs a gentle rinse with warm water to remove dirt, mud, and any other debris that can accumulate. Avoid using abrasive sponges or harsh chemicals, as these can damage the dye and the disc’s plastic. A soft cloth or a sponge with mild soap is perfect for this task. Always make sure to dry your discs completely before storing them to avoid any moisture-related issues.
Storage is another crucial aspect of maintenance. Keep your dyed discs in a cool, dry place away from direct sunlight. Ultraviolet (UV) light can fade the colors over time, so consider using protective bags or boxes designed specifically for disc storage. If you’re traveling with your discs, padded cases can provide added protection against scratches and potential damage.
Lastly, be mindful of how you use your dyed discs on the course. While it’s tempting to show off your custom designs, handling them with care during play will prolong their lifespan. Avoid throwing your dyed discs in extreme weather conditions or at surfaces that can cause excessive wear and tear. With these simple yet effective care tips, your dyed discs will remain stunning and perform exceptionally well, keeping you at the top of your game.
Where to Buy Dyeing Supplies and Discs
Finding the right supplies for dyeing your disc golf discs is essential to achieving vibrant colors and unique designs that reflect your personality on the course. With various products available, knowing where to source your dyeing materials can enhance your experience and results. Many avid disc golfers have successfully created stunning custom designs, making this hobby both a fun expression of creativity and a legitimate skill within the community.
One of the best places to start is online retailers that specialize in disc golf supplies. Websites such as Amazon, Disc Golf Center, and local disc golf shops often carry a wide range of dyes specifically formulated for plastics, from Rit Dye to fabric dyes suitable for a variety of materials. Be sure to read product reviews and recommendations to select the best dye for your needs. For those looking to experiment with unique techniques like spin dyeing, consider also sourcing high-quality pigments and colorfast dyes from craft stores or art supply outlets.
Local craft stores are treasure troves for dyeing enthusiasts. They offer a variety of tools and materials that can enhance your dyeing projects, including brushes, spray bottles, and specialty fabrics. Don’t forget to check out seasonal sales or stock clearance events, which often include dyeing items at discounted prices. Joining online forums or local disc golf clubs can also provide leads on small businesses and artisans who may offer custom dyeing kits or supplies not found in larger chains.
Finally, attending disc golf tournaments or community events can connect you with other players who share your passion for custom discs. These gatherings are great opportunities not only to showcase what you’ve created but also to exchange ideas and resources. Vendors at these events often sell dyeing supplies and discs directly, allowing you to inspect products before purchasing. Engaging with the disc golf community will enhance your skills and experience as you collaborate, learn, and share your passion for this growing sport.
FAQ
Q: What type of dye works best for spinning disc golf discs?
A: The best dyes for spinning disc golf discs are *fabric dyes* specifically made for synthetic materials or *water-based dyes*. These dyes penetrate well and produce vibrant colors without damaging the plastic. For optimal results, use dyes that are specifically designed for plastic surfaces.
Q: Can you use spray paint instead of dye for disc golf discs?
A: While spray paint can provide a quick coloring solution, it is not recommended for dyeing discs as it can create a thick layer that affects the disc’s flight characteristics. *Dye is absorbed into the plastic,* while paint sits on top, potentially altering performance.
Q: How do I prevent the dye from fading on my discs?
A: To prevent dye fading, avoid direct sunlight exposure and store your dyed discs in a cool, dark place. Applying a protective *clear coat sealant* after dyeing can also help maintain color vibrancy longer.
Q: What safety precautions should I take when dyeing discs?
A: Always wear gloves and protective eyewear when dyeing discs to avoid skin and eye contact with dye chemicals. Ensure good ventilation in your workspace to reduce inhalation exposure, especially when working with concentrated dyes or solvents.
Q: How long should I let the dye set on the disc before rinsing?
A: You should let the dye set on the disc for about *10 to 30 minutes* depending on the desired intensity of color. Experiment with different times to achieve your preferred shade, but avoid letting it sit too long to prevent uneven absorption.
Q: Can I reuse dye after spinning my discs?
A: Reusing dye is possible if it hasn’t been contaminated or diluted. *Strain* the dye to remove particles before reuse. However, color intensity may decrease after initial use, requiring adjustments to achieve the original desired hue.
Q: What are some common problems when dyeing discs and how can I fix them?
A: Common problems include uneven coloring and dye spots. To fix these, make sure to stir the dye thoroughly before use and rotate the disc evenly during the process. If issues persist, consider using a different dyeing method, such as the *ombre technique*, to mask imperfections.
Q: Where can I find inspiration for dye designs on disc golf discs?
A: Online communities, social media platforms, and disc golf forums are excellent sources for inspiration. Websites like Pinterest and Instagram showcase various dye patterns, tutorials, and techniques. Check out the *Community Gallery* section in your article for more ideas!
The Conclusion
Now that you’ve learned how to spin dye your disc golf discs, it’s time to showcase your unique creations on the course! Remember, mastering the art of disc dyeing not only enhances your gear but also adds a personal touch to your game. If you have any leftover questions or want to share your dyeing experiences, drop a comment below-we love hearing from our community! For more disc golf tips, be sure to check out our guides on disc flight characteristics and advanced throwing mechanics.
Ready for your next steps? Consider signing up for our newsletter for exclusive tips and resources, or explore our top disc picks for every skill level. Keep pushing your game forward and stay engaged with your fellow disc golfers. Happy dyeing and see you on the course!
Get our latest guides, news, and insights highlighted in your Google Search & AI Overviews.